Best Grow Lights for Basil on a Budget: What to Look For
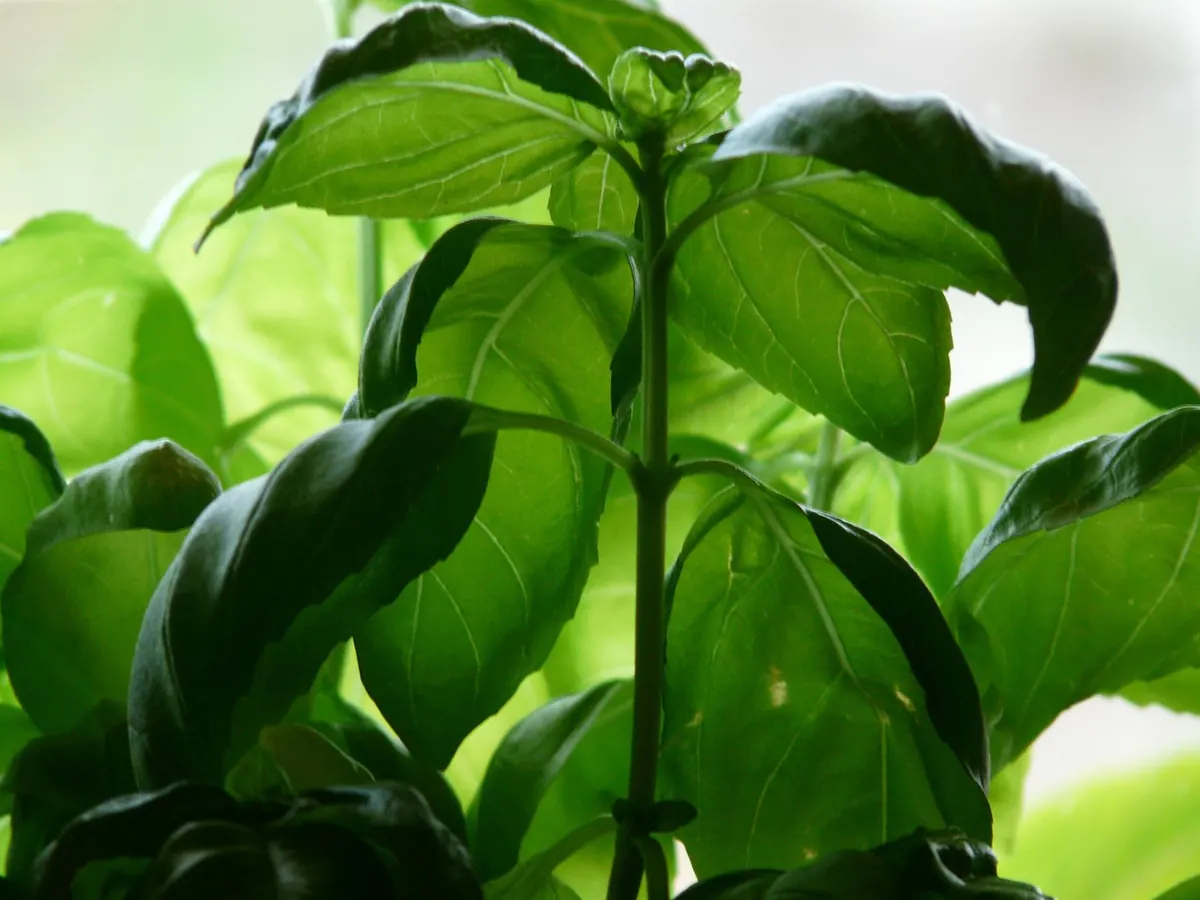
Basil is a sun worshipper. In a Mediterranean summer it gets six, eight, sometimes ten hours of strong, direct light a day, and it grows fat, glossy leaves with tight spacing between them. Move that same plant to a north-facing kitchen windowsill in January and it will tell you exactly what it thinks: pale leaves, long bare stems and a stubborn refusal to bush out. A grow light is simply a way of buying back some of that summer, and you do not need to spend much to do it. What you do need is to understand four things — wattage, colour temperature, hours and distance — and to ignore most of the marketing wrapped around them.
Get the target clear before you compare fittings. Basil is a leafy crop, so you are not trying to trigger flowers or fruit. You are trying to encourage strong stems, large leaves and plenty of side shoots.
Everything else is detail, and detail is where budgets get wasted.
Walk through any listing and you will see "equivalent to 200W" in large type and "actual power: 25W" in small type. Only the second figure tells you anything useful. A light draws the electricity it draws, and no clever wording changes that. If a panel claims a huge output for very little draw, assume the coverage claim has been exaggerated and the ideal hanging height has been understated.
As a rough starting point, many indoor growers aim for around 20 to 30 watts of real LED draw per square foot of canopy for leafy herbs. Treat that as a benchmark, not a law. A 30W bar light spread across a 60cm windowsill tray is thin coverage; the same 30W concentrated over two pots is generous. That is why two cheap fittings often beat one slightly more expensive one.
Lumens are for human eyes, not plants. If a listing mentions PPF or PPFD, that is more meaningful, but budget packaging rarely carries it. Do not chase the numbers too hard — check the actual wattage, the recommended hanging height and the stated coverage area, then let your plants be the judge.
Colour temperature describes how blue or orange the light looks. Around 6500K is cool daylight — blue-heavy, which suits leafy growth and helps keep stems short. In the 2700K to 3000K range you get a warmer, redder light, more useful for flowering and fruiting crops. Between 4000K and 5000K sits neutral white, a sensible middle ground.
For basil, anything in the 4000K to 6500K band will do the job. A single daylight-white LED is fine. If you already own a mix of bulbs, running one cooler and one warmer together gives a broader spectrum and costs nothing extra. What matters more than a perfect Kelvin figure is having enough of it, for long enough, at the right distance.
A plug-in mechanical timer costs very little and does more for your basil than most upgrades. Fourteen to sixteen hours on, eight to ten hours off, every day. Consistency matters because plants build their growth around a predictable light period, and because you will forget. Everyone forgets.
Do not run the light around the clock. Basil is not a plant that benefits from permanent daylight, and constant light leaves no window for the respiration and recovery that happens in darkness. It also wastes electricity for no gain in leaf size.
Set the light period to cover the hours you are most likely to be at home, so you can actually watch the plants. If your kitchen gets warm in the afternoon, run the brightest hours in the morning or evening instead. Group several small lights onto one timer and one extension lead rather than juggling four separate switches.
Light falls off fast with distance — double the gap between lamp and leaf and you cut the intensity to roughly a quarter. This is the single most useful fact in indoor growing, and it is why a modest light hung close will outperform a stronger one hung politely high above the shelf.
Too far away and you get stretched, pale, floppy growth. Too close and you get crisp, bleached or curled leaf edges. The reliable test is your own hand: hold it at leaf level, just under the light, for thirty seconds. If the back of your hand feels uncomfortably warm, raise the lamp. If it feels barely warm, you can probably come closer.
As starting points, fluorescent tubes sit around 5–10cm above the canopy, and small LED panels or bars usually sit somewhere between 15 and 30cm. Seedlings want more distance than established plants. Raise the light as the basil grows so it always sits just above the top leaves.
One more tip that costs nothing: if your light only covers one side, turn the pots a quarter turn every few days. Basil leans, and an unlopsided basil is a plant that is using all the light you are paying for.
Some products are simply not worth the shelf space.
What does work on a budget: a fluorescent tube in a basic shop fitting, a small LED bar or panel, or a couple of higher-wattage household LED bulbs in clip lamps positioned close to a few pots. None of these are glamorous. All of them grow basil.
Set the timer for fourteen hours and hang the light about 20cm above the plants, then do the hand test. For the first week, check the new growth daily. New leaves should be at least as large as the previous pair, and the gaps between leaves should be short. If the plant is stretching, thin and pale, move the light 5cm closer. If the edges are drying or bleaching, move it up and check how much heat is coming off the fitting.
Once growth is strong, pinch out the growing tips above a pair of leaves to encourage branching, and harvest from the top down. Brighter light generally means stockier plants with more oils in the leaves, which is the flavour you are growing basil for in the first place.
Finally, a word on safety, because grow lights and watering cans live together. Keep fittings above and away from trays, use a drip tray, never let leads sit in water, and check cables for damage. A cheap timer, a sensible hanging height and a fortnight of watching your plants will teach you more than any specification sheet.
Photo: Hans / Pixabay
Previous Post
Growing Basil Indoors Year-Round: A Beginner's Checklist
Next Post
Classic Basil Pesto Recipe (With UK Measurements)