Pinching Out Basil: When and How to Prune for Bushier Plants
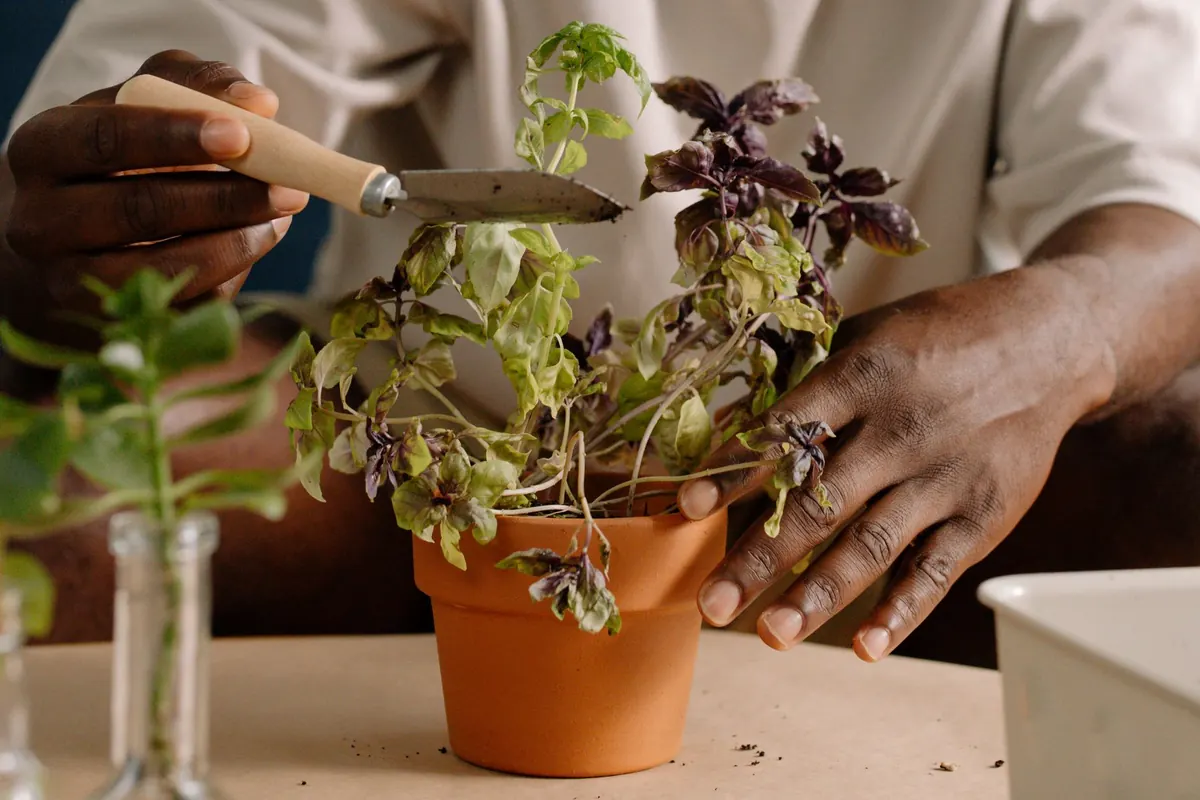
Basil has one ambition: to grow straight up, flower, and set seed. Left to itself, a supermarket pot or a windowsill seedling will stretch into a single leggy stem with a handful of leaves, then start producing flower spikes. Pinch out the growing tip and that one stem becomes two, then four, then a plant worth harvesting from all summer. It takes seconds, and it is the single most useful thing you can do for a basil plant.
Every basil stem has a growing point at its tip. While that tip is intact, the buds sitting lower down — tucked into the joints where leaves meet the stem — stay dormant. Remove the tip and those buds wake up, pushing out two new shoots from the same node. Do it again on each of those shoots and you have four. The plant also thickens up: shorter, sturdier stems that stand up to a summer of cutting instead of flopping over.
The difference over a season is real. A plant pinched every couple of weeks will carry far more usable leaves than one left to run, and the leaves stay tender for longer.
Wait until the plant has two or three pairs of true leaves. True leaves are the ones that come after the first rounded pair of seed leaves — they look like proper basil, with the scent to match. In practice that is usually a plant around 15–20cm tall, roughly four to six weeks after sowing, depending on warmth and light.
Pinch in the morning if you can. Plants are full of water then and the stems snap cleanly rather than bruising. Skip pinching the evening before a cold night, when new growth will struggle.
Compact varieties such as 'Spicy Globe' branch naturally and need far less intervention. Give them the occasional tip pinch to keep them tidy rather than a thorough going-over. Tall, large-leaved varieties like 'Genovese' respond most dramatically to regular pinching.
This is where most people go wrong. The cut has to sit just above a pair of leaves, close enough that no bare stem is left behind.
Do not cut below the leaf pair: you will lose the node that produces the new shoots. And never cut back into a bare, leafless section of old stem with no node above it — nothing will regrow from there. If the base of a stem has turned woody, use scissors rather than your fingers; woody stems crush instead of snapping.
Every two to three weeks during active growth is a sensible rhythm. In a warm greenhouse or a sunny kitchen, every 10 to 14 days. In cooler autumn weather, leave three to four weeks between pinches.
One rule keeps you out of trouble: never strip more than about a third of the foliage at once. If you are picking leaves for cooking, you are already pruning — just change the technique. Instead of pulling single leaves off wherever you fancy, cut or pinch the whole tip back to a leaf pair. You get the same amount of basil and the plant branches instead of just getting shorter.
After a heavy pinch, water lightly and give a weak liquid feed. Keep feeding gentle: plenty of nitrogen makes lush leaves with less aroma.
Basil flowers are pretty and the bees love them, but once a stem flowers, leaf production on that stem slows and the leaves turn coarser and more peppery. If you want leaves, pinch out flower buds the moment you spot them — small, tight clusters of pale green buds at the top of a stem. If a stem has already opened its flowers, cut it back to a leaf pair below the flower spike.
Do not throw the pinched tips away. They root easily:
This is how one supermarket pot becomes three or four plants before the summer is out.
Once a week, take two minutes and run your thumb over the top of each stem. Pinch anything with a flower bud forming, anything clearly taller than its neighbours, and any tip long enough to use in the kitchen. Keep the pot in the brightest spot you have, water when the top centimetre of compost feels dry, and feed weakly every couple of weeks.
Outdoors, start winding down in early autumn: new growth will not have time to harden before the cold arrives. Take cuttings in late summer instead and bring them indoors to a sunny windowsill, so you have fresh basil through the winter rather than a sad collection of frozen leaves.
Photo: cottonbro studio / Pexels
Previous Post
How to Grow Basil from Seed in the UK: A Month-by-Month Guide
Next Post
Basil Companion Planting: 8 Herbs and Vegetables That Thrive Nearby